It’s moving time! While there are many crucial steps for preparing for a move, none is more crucial than packing. Everyone has a different method when it comes to vacating their current home and packing it all up into boxes. Some prefer to start in their bedrooms, while others like to kick off the packing process with their kitchen. Whatever method you choose, here is a guide for packing your kitchen from the expert packers and movers at Movingservicebytwoguys.com!
#1 – DECLUTTER
Start to declutter! Your kitchen is most likely full of items and appliances hidden away in cabinets that you barely ever touch. If this is the case, the move is a perfect opportunity to start downsizing. Get rid of extra appliances that either don’t work, or you never use. Look through all of your glassware, mugs, plates and silverware– are there any you just hang on to but don’t like to use? Go through your pantry and see if there are any expired goods or goods that you don’t intend to take to your new place. Throw out any old condiments and spices that are past their prime.
If the pantry items have not expired, you can take them to a food bank. Also, donate any lightly used kitchen appliances, flatware, glassware or cookware to Goodwill (or to a neighbor). Downsizing your fragile kitchen items and cookware can help make the move lighter.
#2 FIND THE CORRECT PACKAGING
Your kitchen is full of fragile items, which means that you are going to need a bunch of packing materials to pad them and wrap them safely. There are several ways to go about safely packing glassware. You can either use traditional packing supplies (Styrofoam, peanuts, bubble wrap, packing paper) or use old t-shirts and blankets and tie them around with rubber bands. The latter option can be helpful for packing your clothes while packing your glassware. Be sure to wrap individual glasses, glass lids and delicate pieces of cutlery. Stemware (martini glasses, wine glasses) needs to be wrapped well. If you have any cardboard dividers, it may be useful to separate the glasses from one another.
When packing the boxes, be sure to put heavier kitchenware and glassware down first at the bottom of the box. Heavier items include toasters, coffee makers, pots and pans. Lighter objects that are more breakable (think wine glasses) should be at the top of the box. For added protection, you can separate the heavier items from the lighter items with layers of packing paper or dish towels.
You can also pack nonperishable food like cans, pasta, snacks away if you do not think you will be eating them before you move. Try to eat all of your perishable food items before the movers come. When you start unpacking, remember to put these perishables in the fridge!
Get savvy and creative! For instance, when you pack pots, you can put non-perishables inside them to make better use of them. A big saucepan can also double up as a storage container.
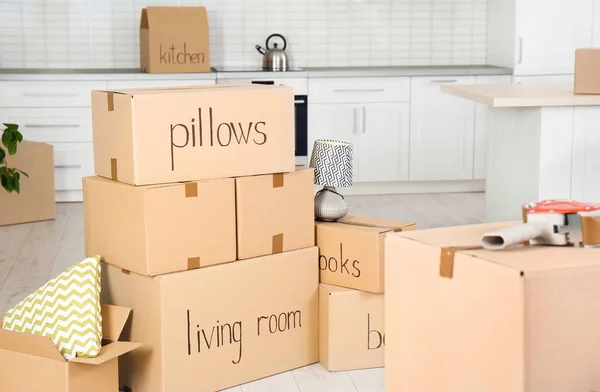
#3 UNDERSTAND HOW MANY BOXES YOU’LL NEED
For small kitchens, you may need around 15 medium boxes or 10 large boxes. Of course, this depends on how much stuff you have in your kitchen. Larger kitchens will require 20 or so large moving boxes.
#4 PLAN FOR WHEN YOU SHOULD PACK THE KITCHEN DURING THE MOVE?
Some people may want to pack up their kitchen first to get it out of the way. There are usually appliances or cookbooks that you are not using regularly that can be packed up without causing any inconveniences. It is possible to start packing your kitchen 2-3 weeks before you move, leaving only essential items on your shelves.
#5 PACKING DISHES & FRAGILE ITEMS
There are many good packing tips for protecting your fragile items. Pack boxes tightly to make sure that things don’t go flying during the move. Using a small box can be helpful to make sure that you don’t overcrowd the box or make it too heavy. You want to use heavy duty boxes that are sturdy and can make it to your new place in one piece.
For optimal and secure kitchen packing, you will either want to purchase cardboard cell dividers or make them yourself. When it’s time to pack dishes, be sure to wrap them individually and stack like dishes together in a compact way. Organize your dishes by size and make.
#6 PACKING SMALL APPLIANCES
Small appliances should be wrapped and placed in the original boxes from the store (if you have saved those). You can also try using larger storage containers and placing smaller appliances in them alongside padding. For older boxes, be sure to use sufficient packing tape to keep things safe. For larger appliances, you may need to wait for the moving company to arrive.
#7 PACK PERISHABLE FOODS IN THE KITCHEN
Perishable food should be packed last! We recommend putting all of your perishable food in plastic bags or boxes on moving day and taking it with you to your new place, either in a car or in the front of the moving truck with the movers for easy access. For extra freshness, wrap any fruits or vegetables in plastic wrap.
#8 BONUS TIP: SET ASIDE A FEW ESSENTIALS TO PACK LAST.
Before you get to your new home, you want to be able to use your kitchen in a limited sense. Whether this means being able to make coffee or cereal or sandwiches, you may want to leave all those necessities behind until you move.
READY TO MOVE?
If you are planning a move in the near future, and are looking to hire a professional moving company, get in contact with our team. You can request a free quote from us! We’ve been in the moving business for almost 30 years. We also offer additional services. You can look into hiring professional packers to assist you or purchase any necessary packing materials from our site.